
Finding a suddenly leaking valve at home? Don't let it stress you out! In fact, by mastering just a few steps, you can easily fix it yourself without calling a professional. Today, we'll break down valve leak solutions into "foolproof" steps, turning you into a "water repair expert" in no time.
Step 1: Shut Off the Water – Secure the Area
As soon as you notice a leak, immediately close the main valve or section valves (such as bathroom angle valves or kitchen branch valves) to cut off the water supply.
This step is the "key to minimizing damage," preventing the leak from spreading and creating a safe environment for the repair.

Step 2: Inspect and Identify – Locate the Source of the Leak
Leaks can happen for various reasons-only by accurately identifying the "root cause" can you "solve the problem for good":
① Leak at the handle:
Pry off the round cover on the valve handle, unscrew the fastener and cap, and check if the valve core is loose or worn (severely worn ceramic valve cores can directly cause seal failure).
② Leak at the connection point:
Disconnect the attached hose and check if the gasket is aged or cracked (gaskets act as "sealing guards" at connection points and are prone to leaking once worn).
③ Damaged sealing ring:
Unscrew the nut and compression sleeve, remove the old sealing ring, and check if it has lost elasticity or is cracked.
Step 3: Apply the Right Fix – Solve the Problem Completely
Based on your inspection, choose the appropriate "treatment":
① Tighten components:
If the threads are loose, use a wrench to tighten them clockwise (apply force carefully to avoid damaging the valve body).
② Replace sealing parts:
Wrap the sealing area (e.g., the stem or threads) clockwise with PTFE tape-5 to 8 layers are ideal-to create a tight seal.
If the sealing ring is aged, you can temporarily cut a plastic bag into thin strips as a substitute, but it's recommended to replace it with a new sealing ring as soon as possible.
③Clean and reassemble:
Remove limescale and debris from inside the valve body before reassembling. This often resolves leaks caused by a stuck valve core.

Final Recommendation: Choose the Right Valve to Prevent Leaks at the Source
Even the best repair skills can't beat "prevention"! We recommend choosing Yuanlun Valve products:
Equipped with imported ceramic valve cores, tested over tens of thousands of cycles, with sealing performance far exceeding industry standards, reducing the risk of valve core leaks from the root.
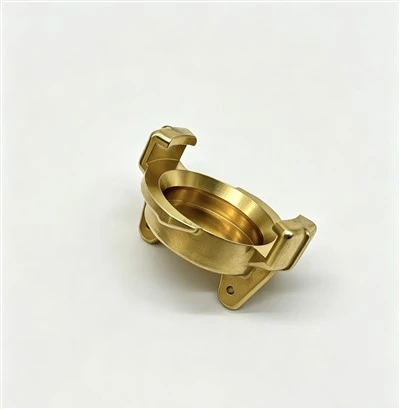
Full brass valve body + multi-layer chrome plating process, offering corrosion and rust resistance, ensuring long-term use without connection point leaks.

Master these methods, and you'll never be flustered by a leaky valve again! If you find the repair challenging, you can always contact a professional-but at least you'll know how to minimize the damage while waiting for help!😉